Contact Sheet
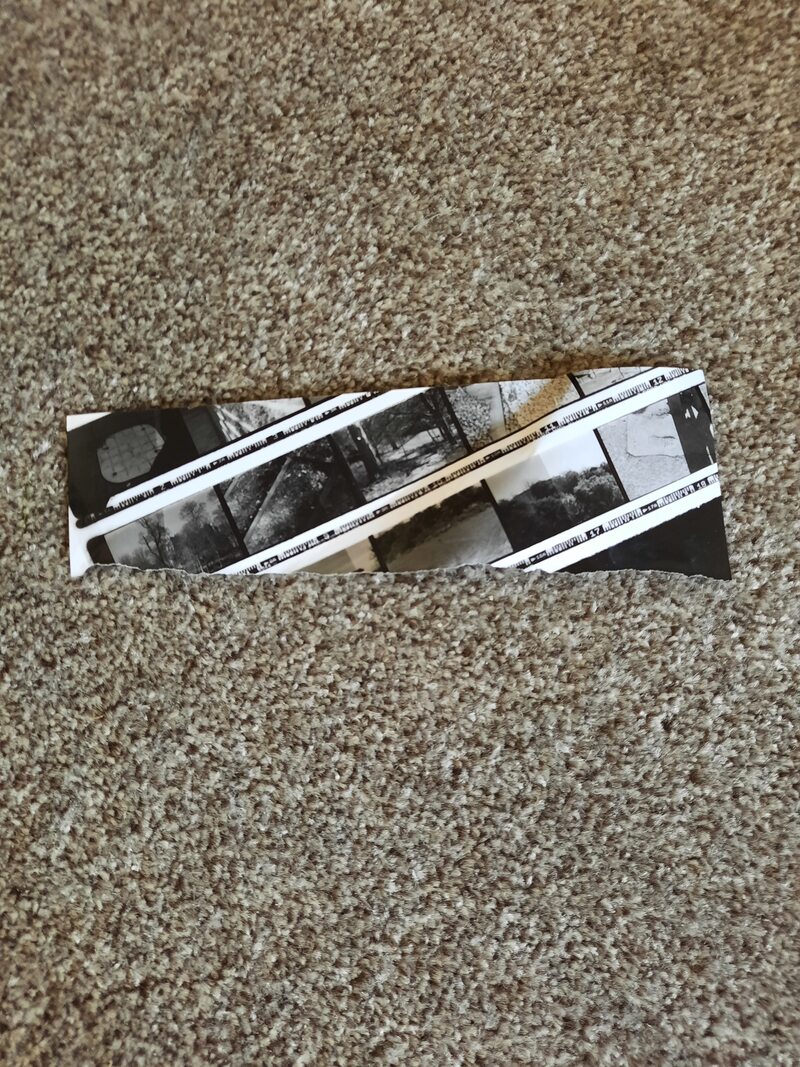
To begin printing my negatives, my tutor first taught me and my class how to create a contact sheet. I took my film strip off the drying rack, and cut it into six. This means they would fit in the contact sheet printer nice and evenly, fitting them in the space so they are perfectly aligned with each other, with the shinier side up. Below is the film I used.

To create the contact sheet, I need to test how long my photographs need to be exposed to the light. I turned off the lights and I placed small strip of the light-sensitive paper underneath the area where the light would shine. I set the contact sheet on the base of the film scanner. I set the timer for 10 seconds meaning the paper could be exposed to the light for the correct amount of time. I used a small strip of light sensitive paper to create a smaller version of my contact sheet. This means that I can check if 10 seconds is the correct time to expose the light for and I wouldn't be wasting a large sheet if something went wrong, thus saving money. Below is my strip of contact sheet.
To develop my contact sheet, and make sure it's not light-sensitive, I had to 'set' it using developer, a stopper and a fixer. This changed my negative images to positive. After the developing process, I looked at the results, and then decide how long of an exposure should be used for the final sheet. Finally, I used a squeegee is used to take anyway any excess water and I placed my prints are placed in the drying rack. This is the contact sheet I made.

